Turn a design into a printable tattoo stencil. Adjust the lines, get the size right, and bring it to your artist.
✧
Made for the “what if?” moment.
01Start with your artwork
Basic editing stays on your device.
02Make the lines yours
Move the slider for an instant outline. For cleaner contours on complex photos, try an AI redraw.
1 free AI preview. No sign-up. No card.
YOUR LIVE PREVIEW Instant outline
03 — MAKE IT YOURS
A clean reference to take to your artist.
One free AI preview No sign-up to try or buy No subscription, ever
A LITTLE PREVIEW OF WHAT’S POSSIBLE
Keep the idea. Find the outline.
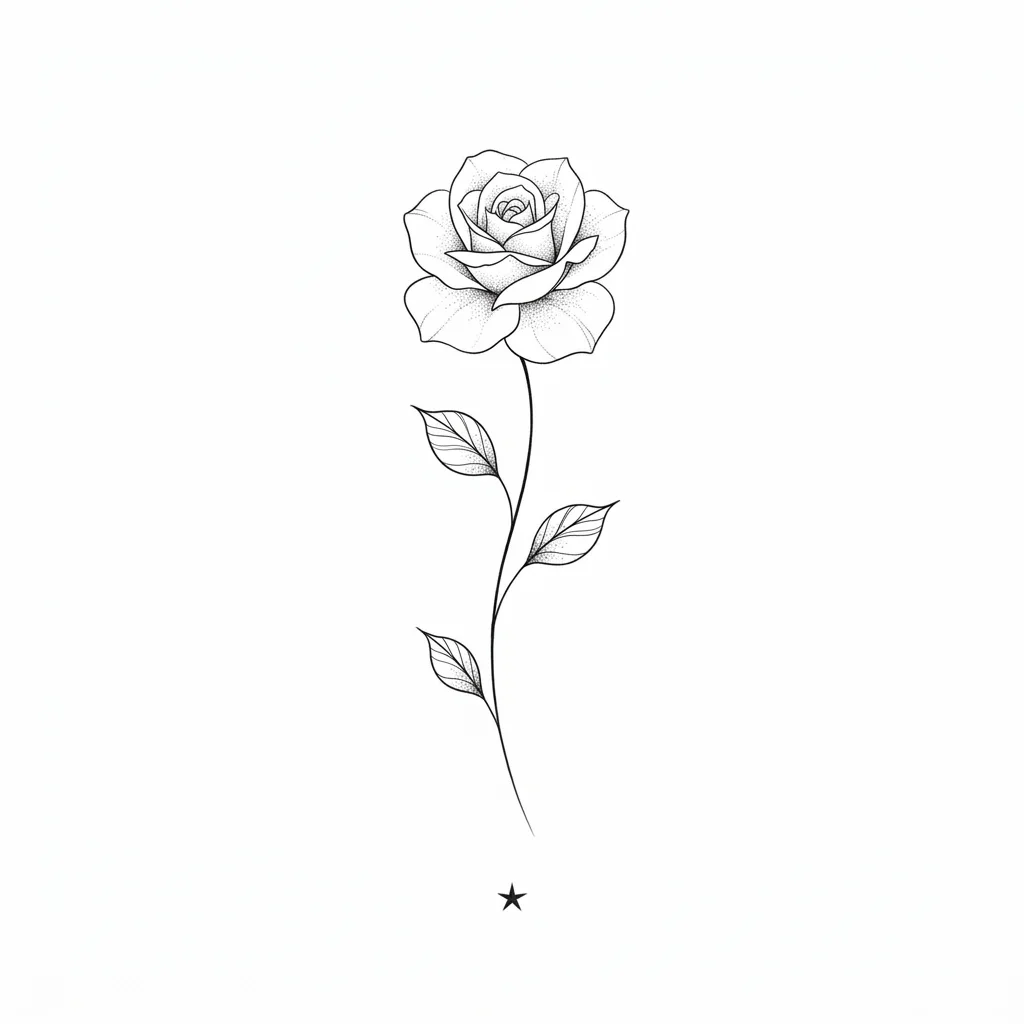
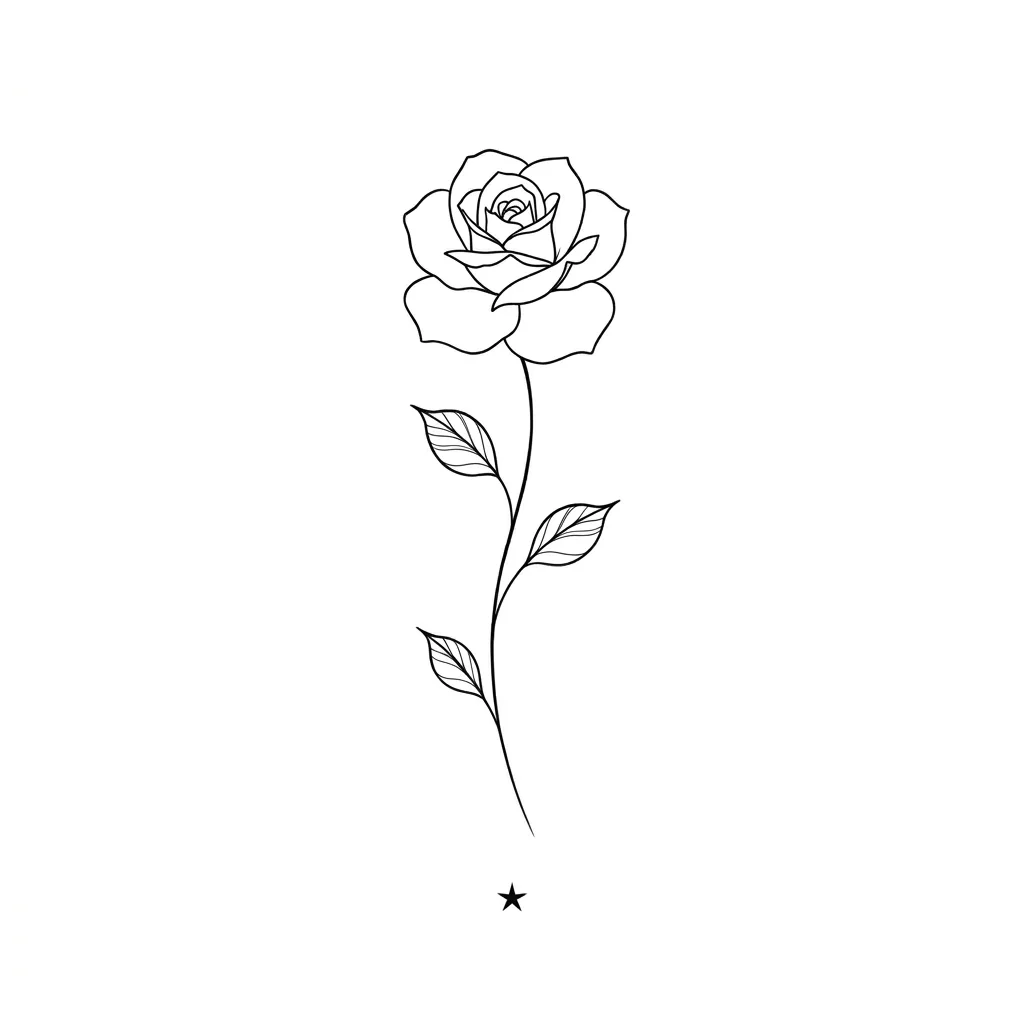
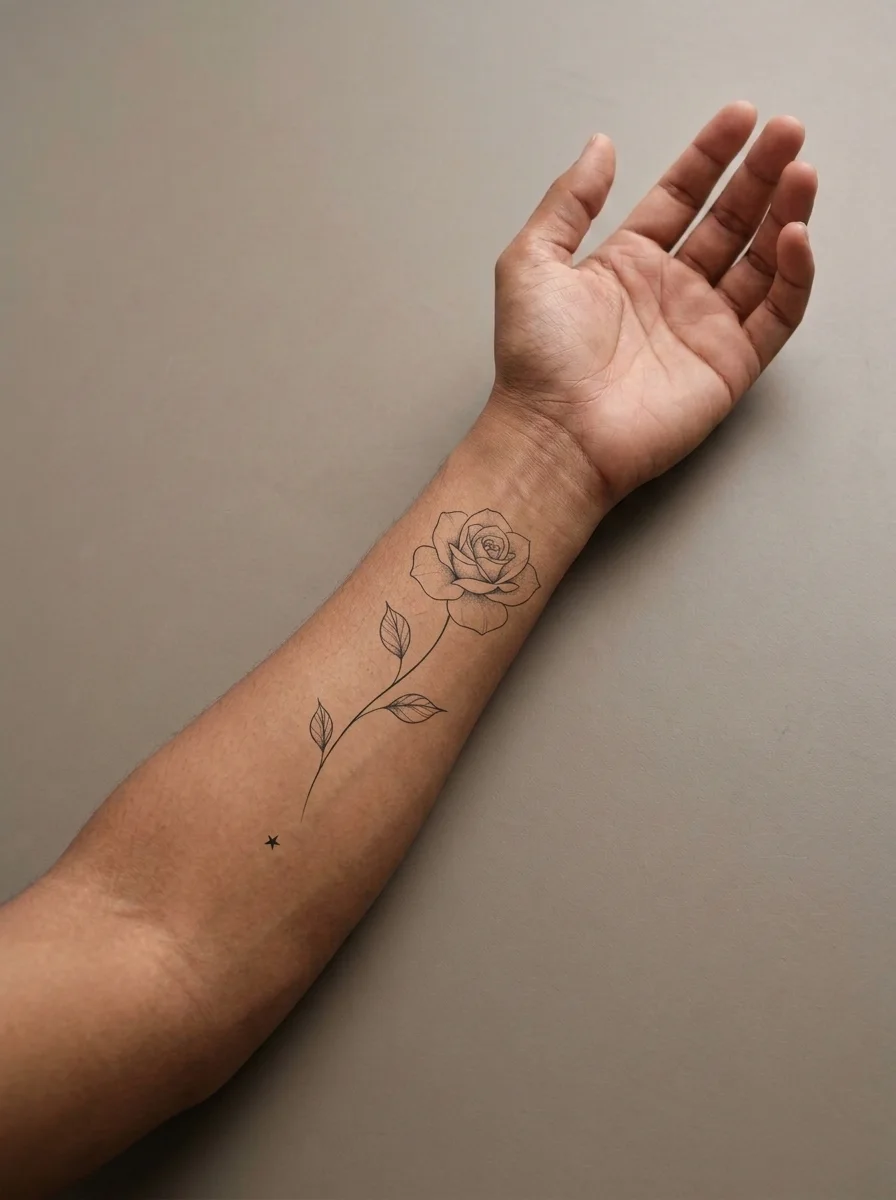
These examples were generated during our model tests. Your results will vary.
01 / THE ORIGINAL
02 / THE OUTLINE
03 / ON YOUR SKIN
THREE LITTLE STEPS
Less wondering. More you.
01
Choose your artwork
Upload a sketch, photo or tattoo design.
02
Adjust your lines
Get an instant outline or ask AI for a redraw.
03
Set your size
Unlock an export, choose A4 or Letter, and print at 100%.
A FEW THINGS WORTH KNOWING
Think it through. Then make it yours.
Bring a sketch, a finished design, or a reference image. Create a clean linework preview, check the detail, and prepare a print layout at a size you choose. The stencil is a starting point for your artist to review and adapt.
Use the original design file when you can. A sharp image with a plain background is easier to convert than a photograph of a screen or a small compressed screenshot. Crop away captions, borders, and unrelated objects before working on the linework.
Basic conversion extracts visual edges from your image. AI cleanup can interpret a complicated image and redraw it as simpler lines, but it may change contours or remove details. Compare the result with the original and choose the method that suits the artwork rather than assuming one treatment fits everything.
Three steps to a printable reference
Upload your design and review the first linework preview. Adjust the detail and line weight to separate important contours from noise. Look closely at small lettering, leaf veins, eyes, and tightly packed shapes: these are easy places for conversion to merge lines or lose meaning.
Set the physical size, choose A4 or US Letter, and decide whether to mirror the design. Check the print preview before exporting. The paid export options are shown before checkout, and you do not need an account to purchase them.
Output Specs
A stencil reference is monochrome linework, with black marks on a white background. It communicates the contours an artist may use for placement and drawing. It does not carry the same information as a finished shaded tattoo: solid fills, soft gradients, and stippling may need a different treatment.
Choose a target width or height in physical units. A4 and US Letter control the paper layout; they do not automatically determine the tattoo’s size. Use the mirror switch only when it is appropriate for your transfer process, and verify the direction of any lettering in both the artwork and the transfer.
Print at 100% or Actual Size. Turn off Fit to Page, because that option can rescale the design. Check the physical print with a ruler before using it as a size reference. A file’s pixel count and a printer’s DPI setting are separate from the size you want on the body.
How to Transfer a Stencil
The right workflow depends on the transfer paper, printer, and products your artist uses. Thermal stencil paper and a compatible thermal printer are different from ordinary paper in an inkjet printer. Follow the manufacturer’s instructions for the actual equipment rather than assuming every printable file can be sent to every device.
A tattoo artist can check the linework, print or trace it with the appropriate materials, and confirm placement on the body. Transfer products and skin preparation also depend on professional practice and the product instructions. This tool prepares a reference file; it does not replace that judgment or provide a promise that the design is ready to tattoo as supplied.
BEFORE YOU COMMIT
Good questions.
The small things you might be wondering.
Can I print the stencil?+
Yes, the export workflow provides a print layout for A4 or US Letter. Print at 100% or Actual Size and disable Fit to Page. Check the print with a ruler, then have your artist confirm the size and linework.
What size can I make it?+
Set the physical dimensions in the export controls. The usable size also depends on the source image, line detail, printer, and paper. A small image enlarged substantially may look soft; adding a DPI label does not restore missing detail.
Can I mirror the design?+
Yes. Use the mirror control when your transfer workflow requires a reversed print. Keep the original artwork for comparison and check that text faces the right way after transfer.
Is the stencil generator free?+
You can explore a basic preview without an account. The site includes one free basic AI preview per user across all tools; it does not refill each day. Additional AI cleanup and formal high-resolution exports are paid. Prices and included rights are shown before checkout.
Which image formats should I upload?+
Use a clear JPG, PNG, or WebP image. An original PNG or clean drawing is a good starting point. Transparent backgrounds can help isolate artwork, while complex photos may need cleanup before the lines are useful.